GET Expert Project Support for Your Turf Installation from Start to Finish.
Taking on a DIY turf project is exciting, the team at Durham Artificial Grass is here to make sure you have everything you need for a smooth, successful installation. Whether you’re creating a backyard putting green, upgrading a pet area, or refreshing a tired lawn, our team offers expert guidance tailored to your space and skill level. You’ll have access to premium turf products, installation materials, and showroom displays so you can confidently choose the right options for your project.
We also provide troubleshooting support, pro tips, and step-by-step advice to help you avoid common DIY challenges. If you need turf delivered or prefer to pick it up, we’ll make that part easy too. With the right guidance and high-quality materials, your DIY turf project can look professionally finished and built to last.
Three Ways Our Team will Help Make Your TURF Project Run Smoothly
Consultation & Planning
1
Speak with our team about every detail of your project, from measurements and drainage to base prep and layout ideas. We will review your plans, answer questions, and highlight what to do and what to avoid so your installation goes smoothly right from the start.

Material Supply
2
We will provide everything you need for a smooth installation. Your turf rolls are cut to size for your layout, and we supply the infill, underlay, seaming materials, and accessories required to complete the project. Each product is chosen to match your design and ensure a durable, professional result.

Step-by-Step Resources
3
We provide clear guides, checklists, and tips to walk you through each stage of your turf installation. From preparing the base to securing seams and adding infill, these resources give you the support you need to install with confidence and achieve a polished, professional result.
Why Work with DURHAM ARTIFICIAL GRASS For your DIY TURF PROJECT?
Expert Guidance
& Support
Get real support from people who know turf. We’ll walk you through base prep, turf selection, installation techniques, and finishing details so your project comes together the right way the first time.
Premium Turf Product Selection
Choose from our full range of SYNLawn turf options in multiple styles, colours, and pile heights. Available by the square foot or by the roll so you get exactly what your project needs.
Pro Tips From Turf Specialists
Skip the guesswork. Access installation tips, troubleshooting help, and practical advice for seam work, slope grading, base prep, and more.
Access to Turf & Installation Supplies
Get everything you need in one place. We stock infill, seam tape, adhesive, landscape nails, cutting tools, and other essentials to help you complete your project confidently.
Showroom Displays & Hands-On Ideation
Visit our showroom to see and compare turf styles in person. Perfect for DIYers who want to feel the textures, check colour options, and get inspiration before starting.
Pickup & Delivery Options
Order your turf and supplies for easy local pickup, or let us arrange delivery straight to your job site. Fast, flexible, and convenient for any DIY timeline.
How to Install Artificial Turf?
Follow this Step-by-Step Installation Guide
Once you have all your tools and materials follow these six steps to install your artificial turf with confidence. This guide walks you through each stage, from cutting your turf to securing seams and applying glue, so you can achieve a clean, professional finish at home. And if anything unexpected comes up along the way, our team is here to help you get back on track.
Step #1
CUT YOUR TURF TO SIZE
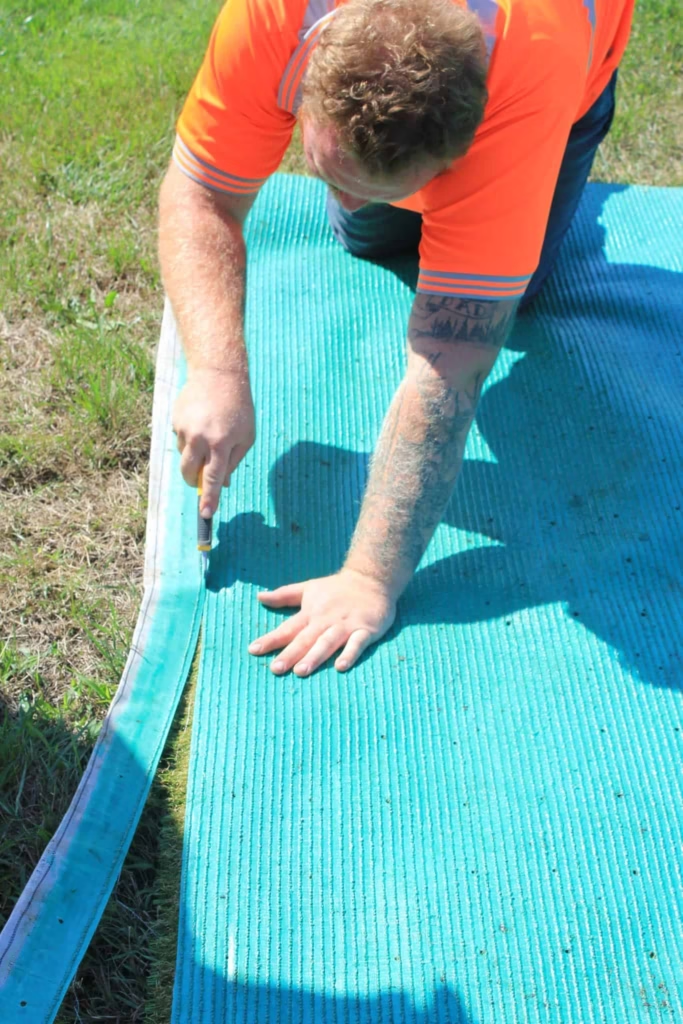
Step #2
SECURE YOUR SEAMING CLOTH
Step #3
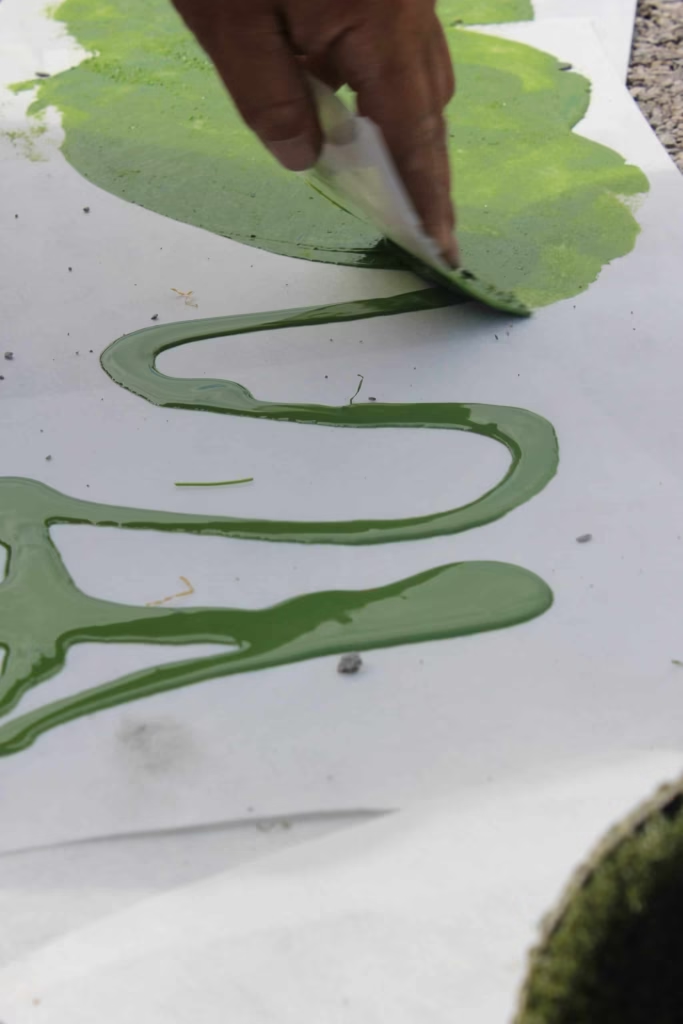
TIME FOR GLUE
Step #4
CLOSE YOUR SEAM
Step #5
FINAL STEPS
Step #6
AfterCare
Keep your new turf looking fresh with simple routine care. Brush the fibres occasionally to maintain their upright appearance, remove leaves or debris as needed, and give the surface a light rinse or turf cleaning agents to keep it fresh and ready to enjoy for years.
Ready for START Your Artificial Turf Installation Project?
Essential Tools & Materials for a Successful DIY Installation.
A successful DIY turf installation starts with the right tools and materials. These essentials help you cut, secure, and finish your turf properly so the final result looks clean, smooth, and professionally installed.
UTiLITY KNIFE
For precise cutting from the back of the turf. A sharp blade helps you follow the stitch rows cleanly for tight edges and proper fitting.
Seaming Cloth
Used to join turf edges cleanly. It provides a stable base for adhesive so seams stay hidden and secure.
Adhesive / Glue
Outdoor grade bonding for long term hold. This keeps seams tight and prevents edges from lifting over time.
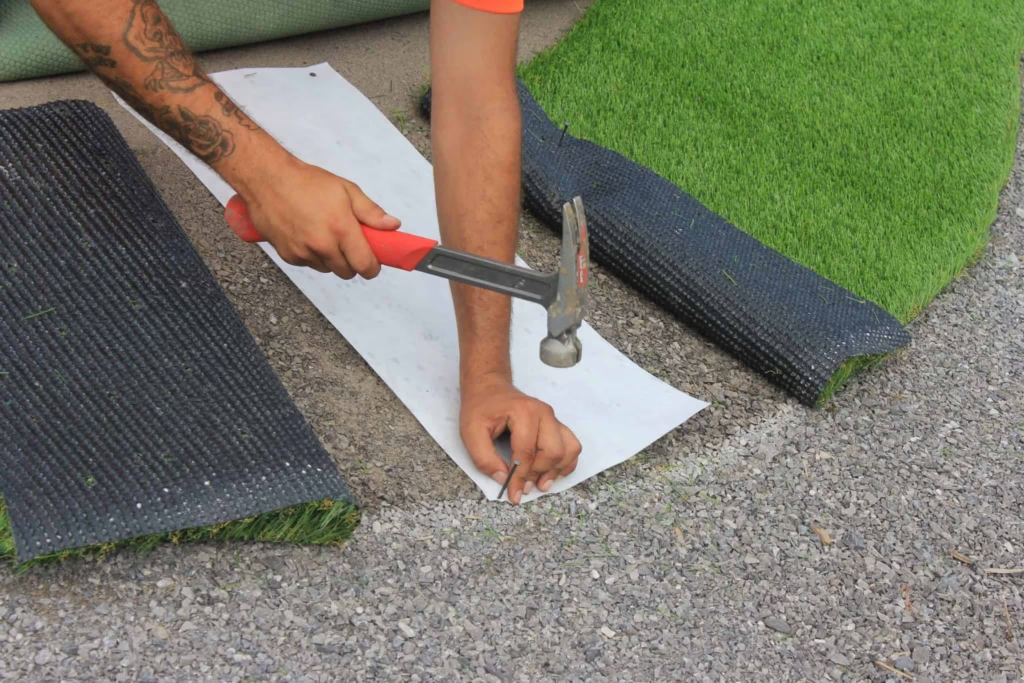
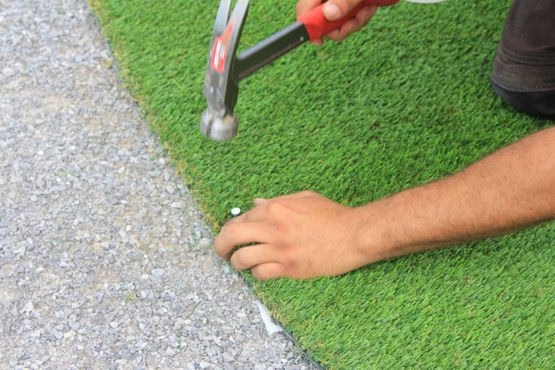
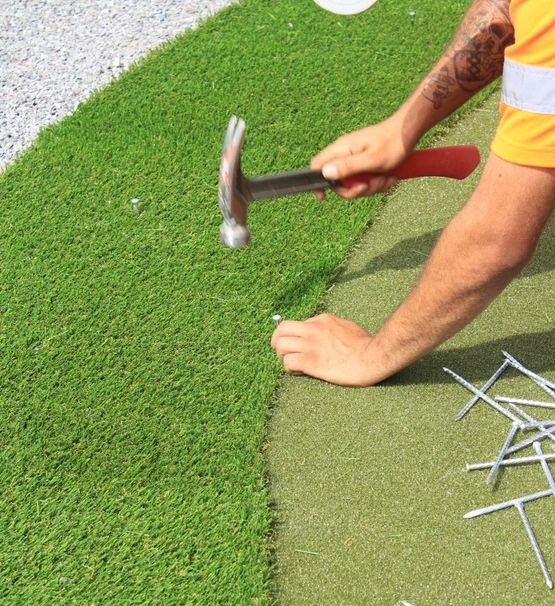
Turf Spikes or Nails
Anchors turf edges securely. Spikes help prevent shifting and keep the perimeter smooth and tight.
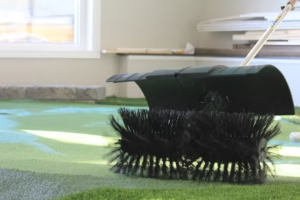
Power Broom
Lifts turf fibres and spreads infill evenly. This helps the surface look full and feel more realistic after installation.
Infill Material
Adds stability, weight, and a natural look. Infill keeps fibres standing upright and supports even wear across the turf.
Measuring Tape
For accurate layout and fitting. Correct measurements ensure your turf pieces line up cleanly with minimal trimming.
Gloves & Safety Gear
Protects your hands and helps you work safely, especially when cutting or handling adhesive.
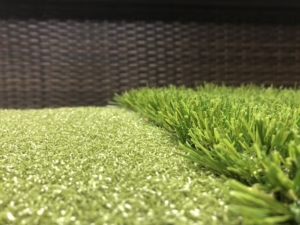
Artificial Grass & Turf
Premium turf available by the foot or roll. Choose the style and pile height that best suits your project.
Browse Our Available Products & SupplY Catalog
Whether you’re planning a backyard putting green, pet run, or full lawn replacement, Durham Artificial Grass has everything you need to bring your project to life.
From premium turf styles to adhesives, infill, and underpadding, we stock trusted materials designed to perform in Canadian climates and meet the needs of homeowners tackling installations themselves.
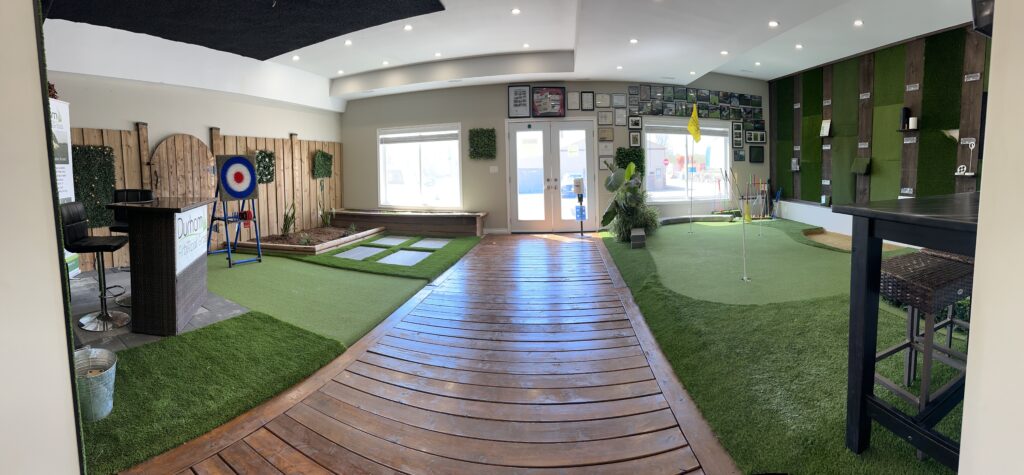
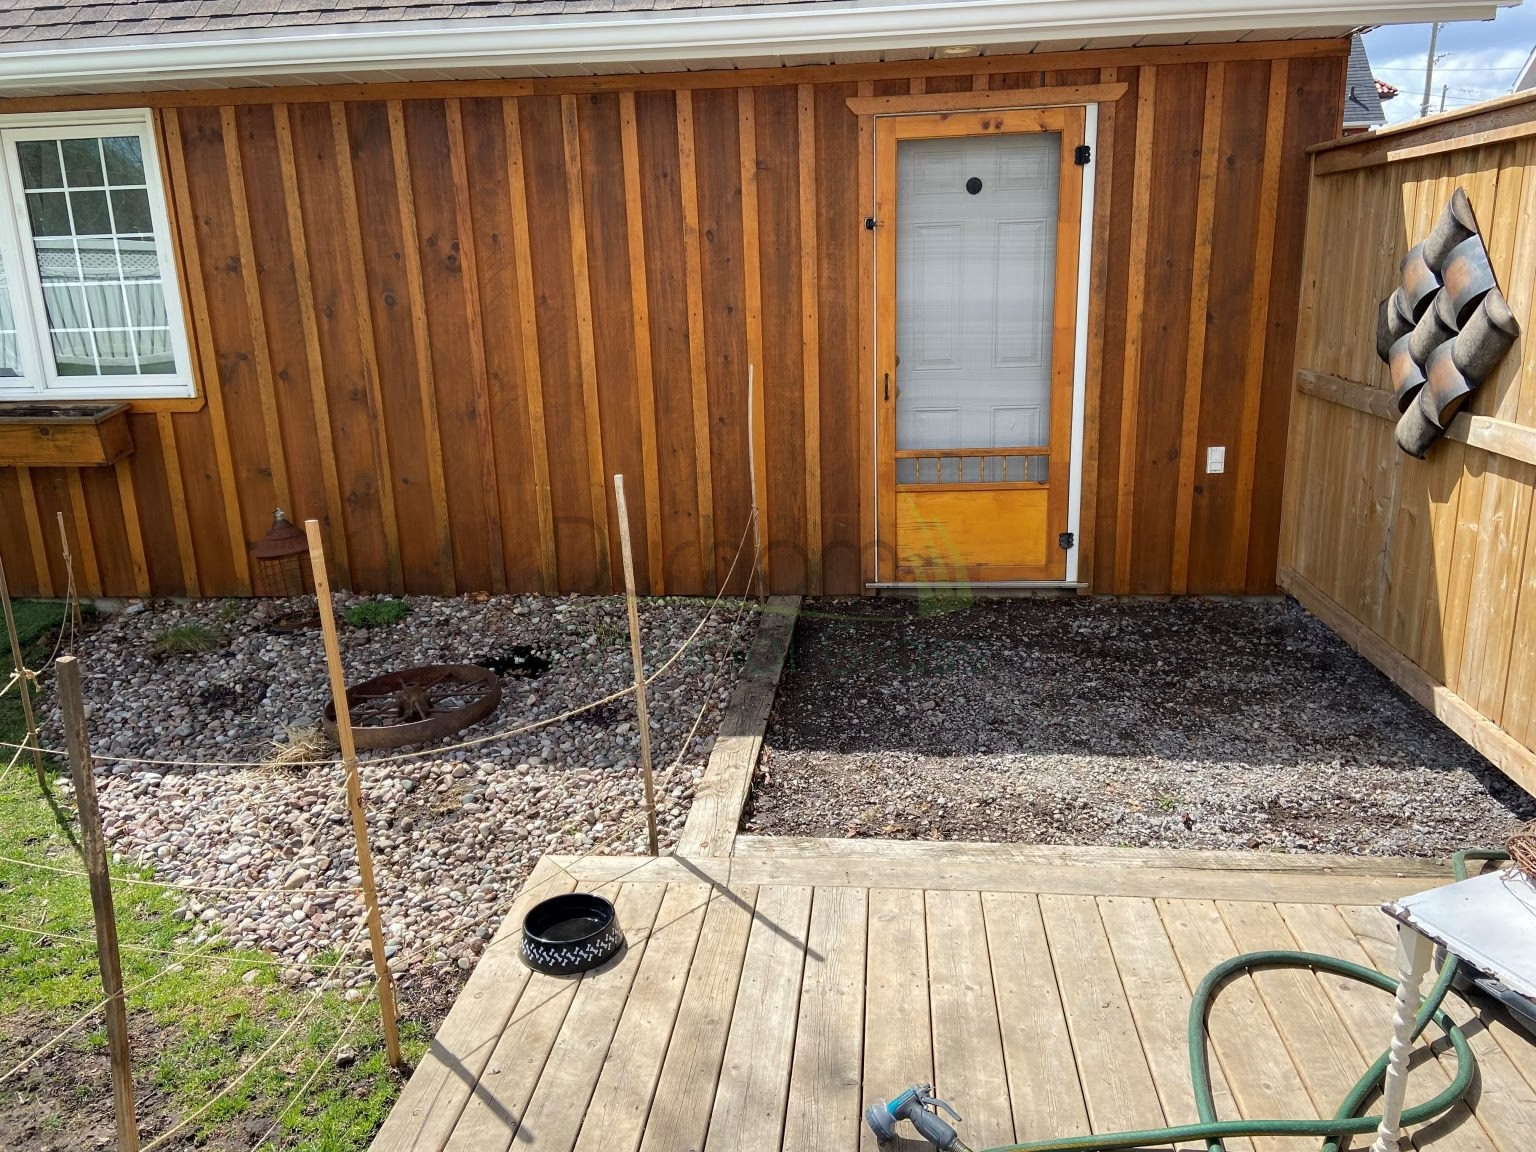
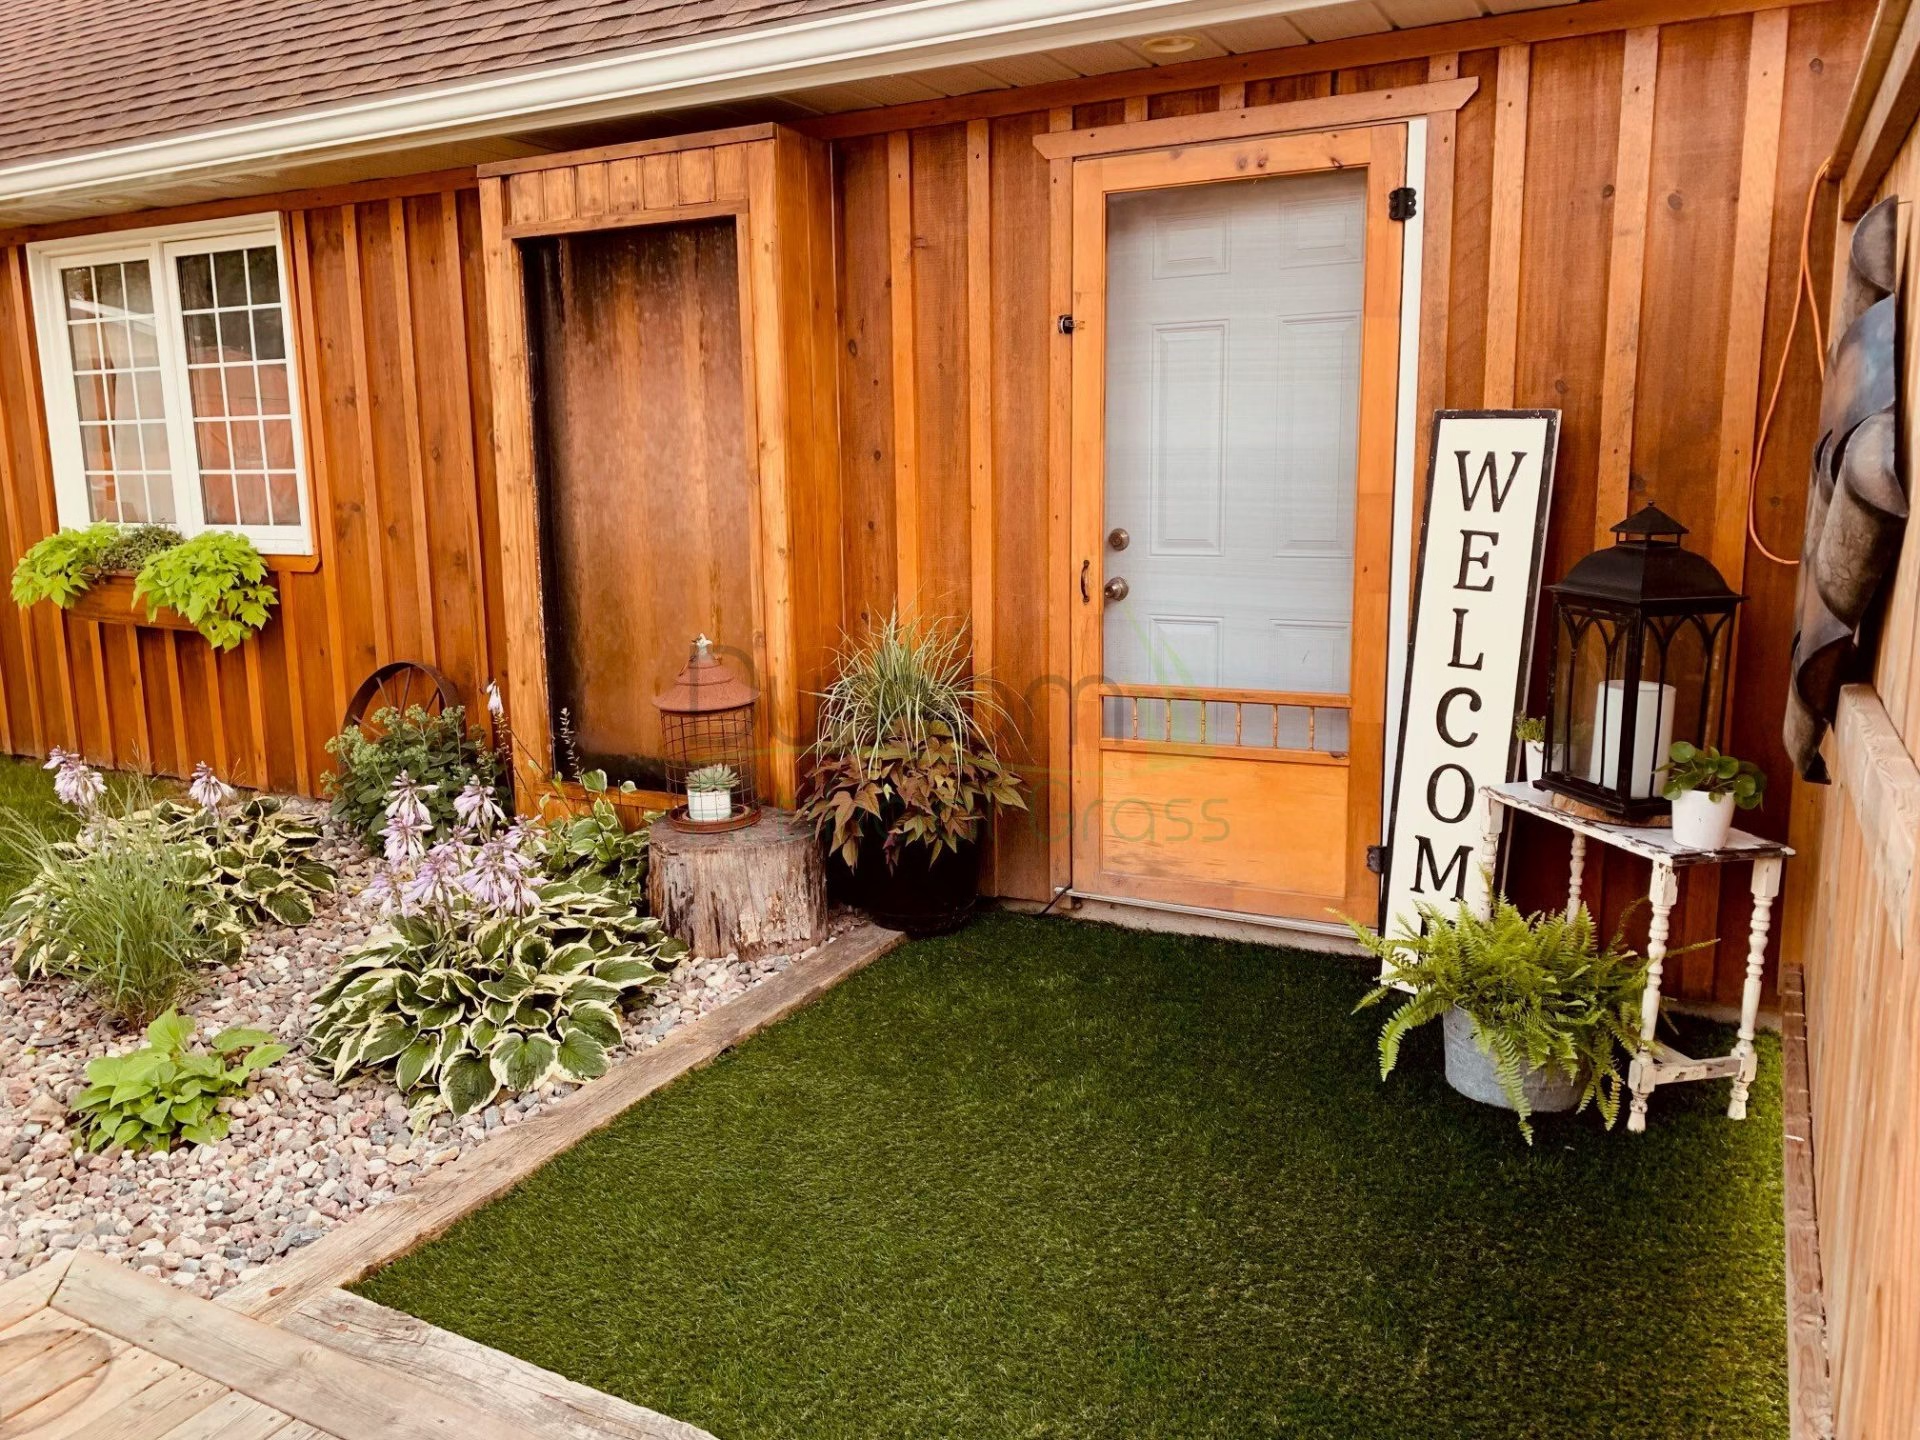
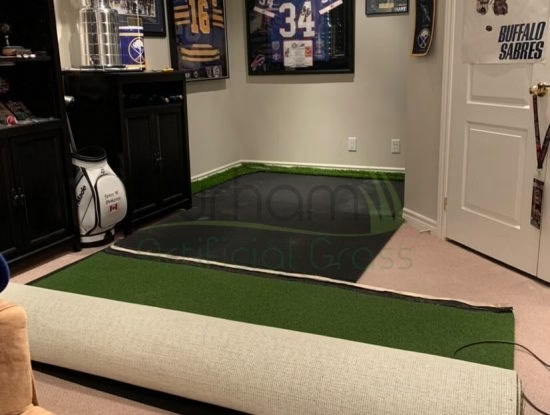
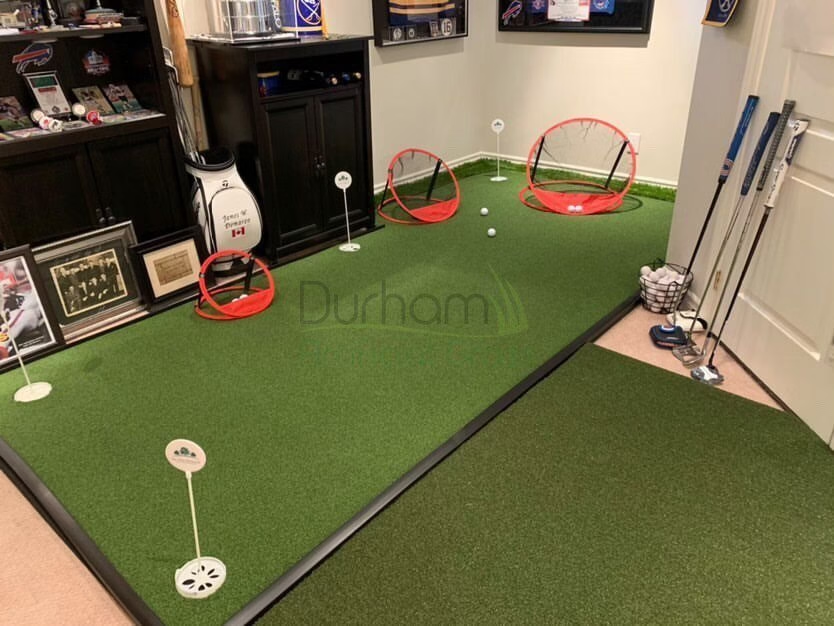
Before & After - DIY Turf Transformations From Our Customers
All projects shown here feature real turf installations completed by Durham clients using our premium products and support. These dramatic transformations of their indoor and outdoor spaces showcase what’s possible when you pair quality materials with the right prep and support to complete your vision.
Planning Your Base and Drainage?
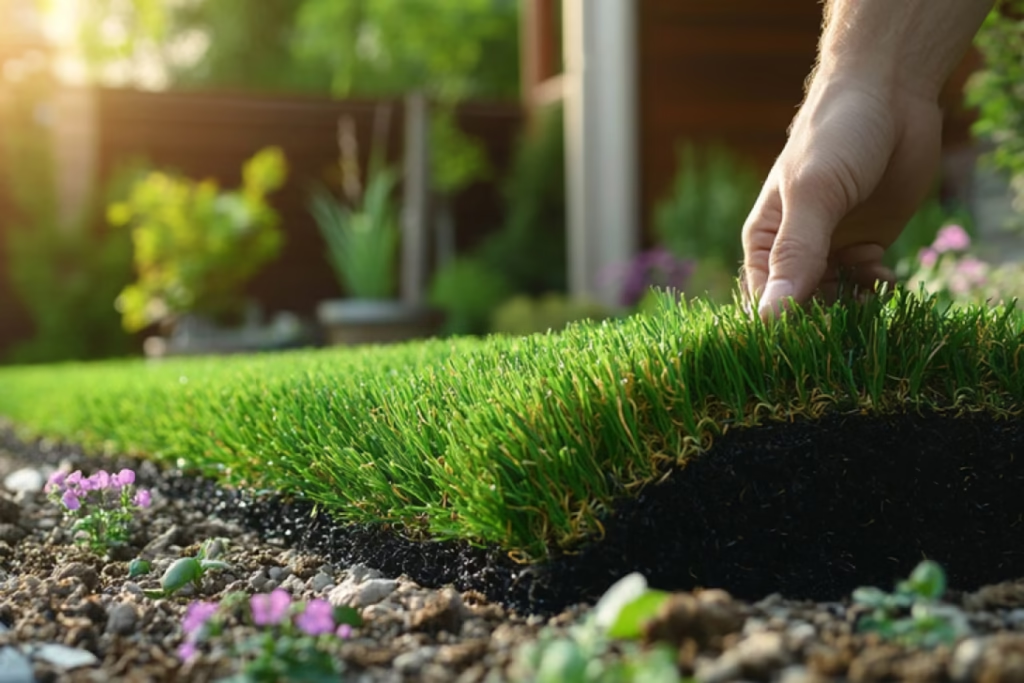
One of the most important steps in any DIY turf project is preparing the base. Proper grading, compaction, and drainage will determine how your turf performs over time.
If you’re unsure where to start, our team can walk you through the right materials and methods to suit your space and soil conditions.
Start Your DIY Turf Project Quote
Whether you’re planning a backyard putting green, pet area, or low-maintenance lawn, we can supply the turf, materials, and guidance to help you do it right. Fill out the form to request a quote on artificial grass and supplies. Our team can also assist with base preparation details, installation advice, and product recommendations that suit your space.